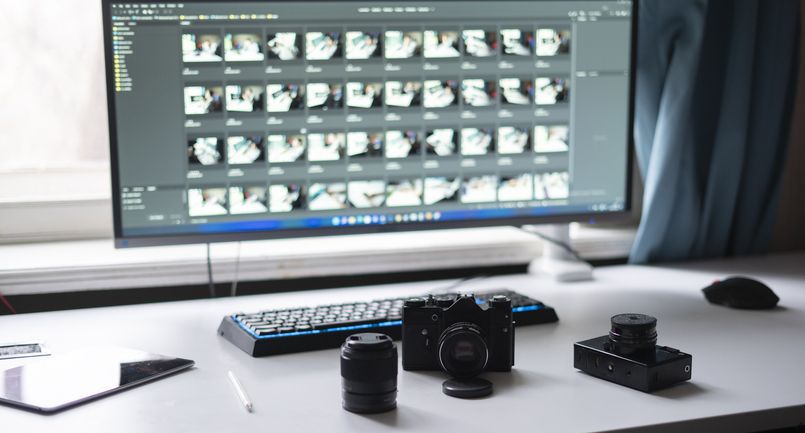
Setting Up Lightroom and ACR for Accurate Color and Better Prints

When working with professional labs like Mid-South Color Labs, correctly setting up your editing environment is essential—especially regarding color space settings. If you’re editing in Adobe Lightroom or using Adobe Camera Raw (ACR) through Photoshop and Adobe Bridge, minor adjustments can make a big difference in how your images look on screen—and in print.
Why Color Space Settings Matter
By default, many Adobe programs are set to use Adobe RGB, a wider color gamut that can cause unexpected results when you export your files for printing. Most professional print labs use sRGB as their standard color space. Editing in Adobe RGB and exporting in sRGB can lead to washed-out or inaccurate colors, especially for skin tones and portraits.
Working in Adobe Camera Raw (ACR) via Adobe Bridge
If you’re using Adobe Bridge, built into Photoshop, you can open RAW files without importing or exporting them the way you would in Lightroom. Just select your image and hit Command+R to open the Camera Raw interface.
You’ll see a blue link at the bottom of the ACR window that opens your Workflow Options. Click it to adjust your output settings. By default, they’re set to Adobe RGB—be sure to change them to sRGB for accurate color and print consistency.
Once saved, every file you open from Bridge into Photoshop will carry the correct color space and resolution settings.
Adjusting Lightroom Color Settings
In Lightroom Classic, open the Preferences panel found under the Lightroom tab. Lightroom uses ProPhoto RGB internally, but the important part is how you export your files.
Setting it to sRGB allows images to match what labs expect and helps avoid unwanted color shifts or desaturation.
Why sRGB Is the Right Choice
Most monitors, except for a few high-end models, can’t display the entire Adobe RGB range. Editing in wider color spaces might look good on screen, but those colors often can’t be reproduced accurately in print. Sticking with sRGB keeps your edits consistent from screen to final product.
Working in sRGB means smoother, more accurate skin tones and fewer surprises in prints, particularly for portrait photographers.
Simplify Your Workflow, Strengthen Your Results
Whether you use Lightroom or Adobe Bridge with ACR, setting your workflow to sRGB helps you create print-ready images that look as good on paper as on-screen.
Watch our full tutorial to learn how to properly set up Lightroom and ACR for better color, smoother edits, and consistent, high-quality results.
Achieve Consistent Color With Mid-South Color Labs
Since 1957, Mid-South Color Labs has helped photographers produce stunning, accurate prints. We combine expert craftsmanship with advanced technology to ensure consistent, high-quality results. We manage color carefully, using trusted workflows that match industry standards. This helps your work stay true from screen to print. Whether you’re printing portraits, weddings, or fine art, we support your vision at every step.
accurate color editing in Lightroom, Adobe Camera Raw Color Settings, Mid South Color Labs, Photography Tips for Professionals, Preparing Photos for Print Labs, sRGB vs Adobe RGB for Printing